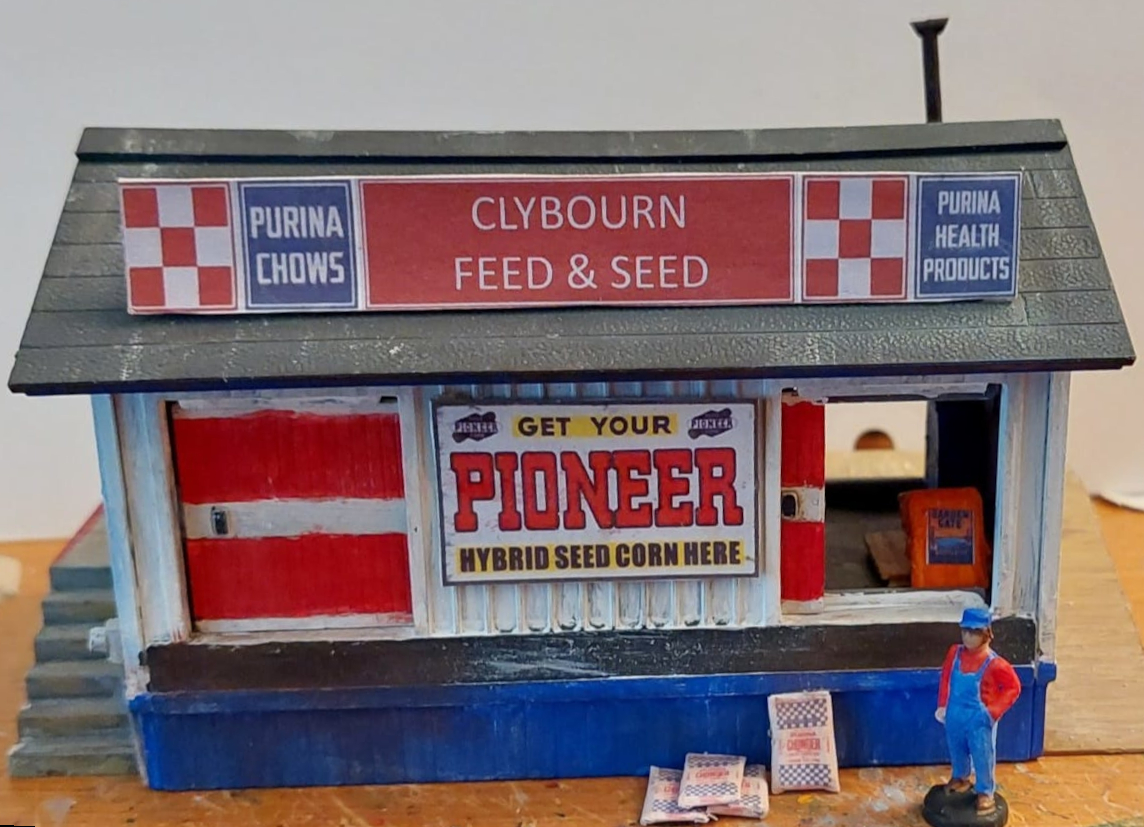
- Find pictures of the brands from the era you are modeling. I model steam, so pretty much anything 1900-1950 suits my purposes.
- What size are the bags? The answer varies wildly, but a 50 pound bag of chow is usually around 3 feet tall, 6 inches deep, and anywhere from 20-24 inches
wide.
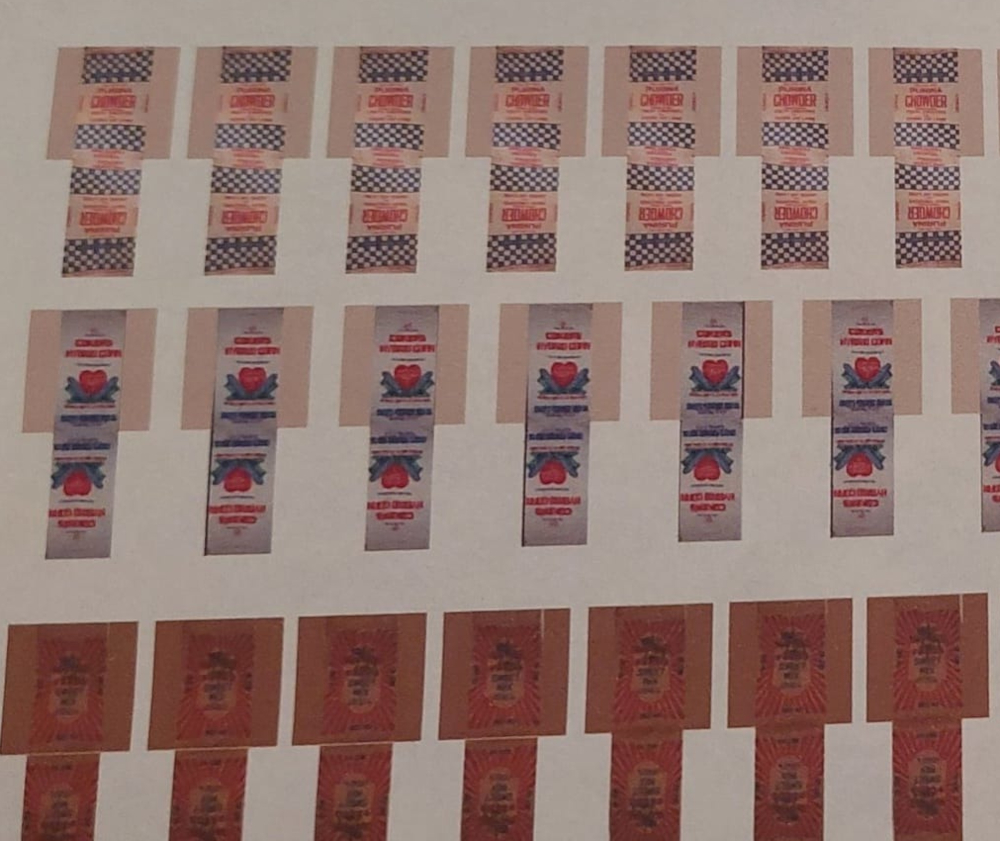
- Next comes the sizing of the graphics. Most photos are going to give you a bit of parallax, so finding the matching logos and graphics
of the sacks you want is the key. I scaled my graphics to .41" x .23" for the front of a bag. The overall graphics dimensions
ended up being .82" x .4"
- I used Powerpoint to create templates of the bags--front and back, with a little extra to fold over for glueing. To get the "blank" areas of the
bag a compatible color, I just used the color picking tool to select a mid tone hue of the pictures of the bags to fill in the template before pasting
the graphics of the bag onto the template.
- Once your sack looks OK, Copy and paste as many as you want across the page.
- Print your bags in color.
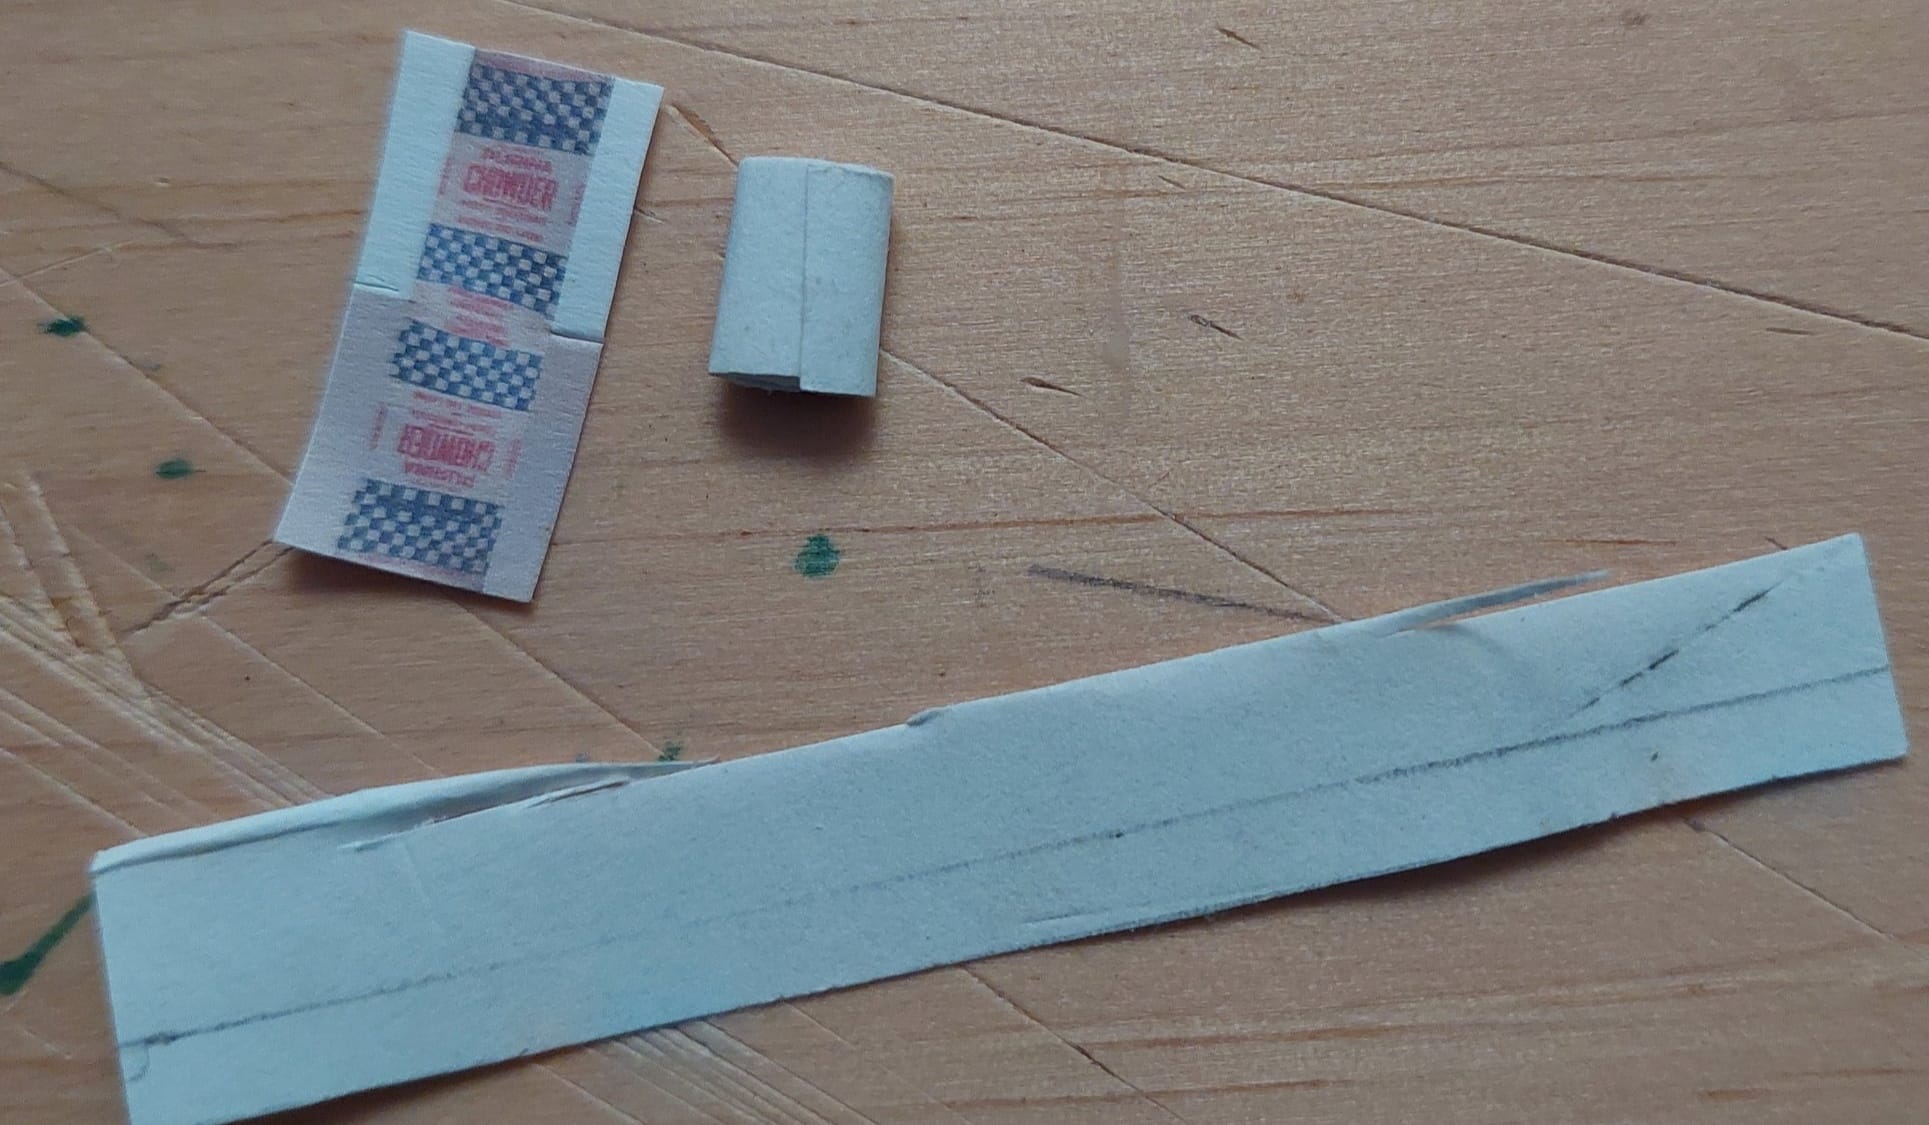
- I tried a couple of different methods to create the bags themselves--strips of cardboard, folded paper, bits of spare plastic. It may take a bit of experimentation to fold enough paper to make the bag look like a reasonable size. An option I did not try was simply cutting
pieces of wood or plastic to wrap the labels around.
For sacks sitting on end, I like cardboard the best as it can be folded in a way to give the "bottom" of the bag a little bulk as if gravity is
pulling the contents of the bag down. For bags that will lay flat, paper or a thick piece of cardboard do just fine.
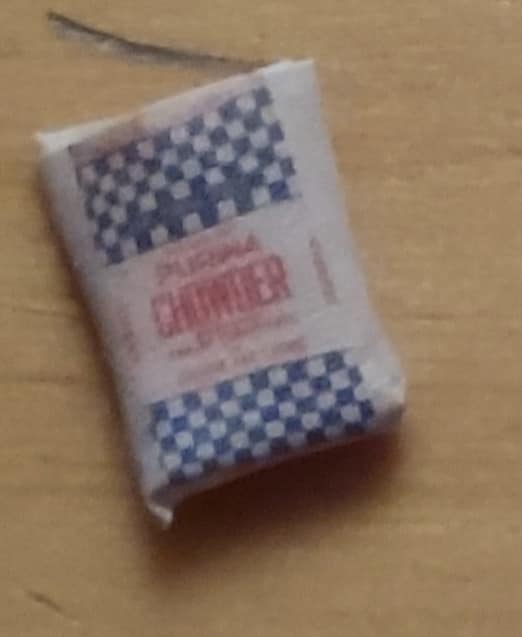
- Cut out and glue the image of your feed sack around the bag form and let it dry.
|
 WOODWORKSTEAMPUNKRAILROADSLIBRARY